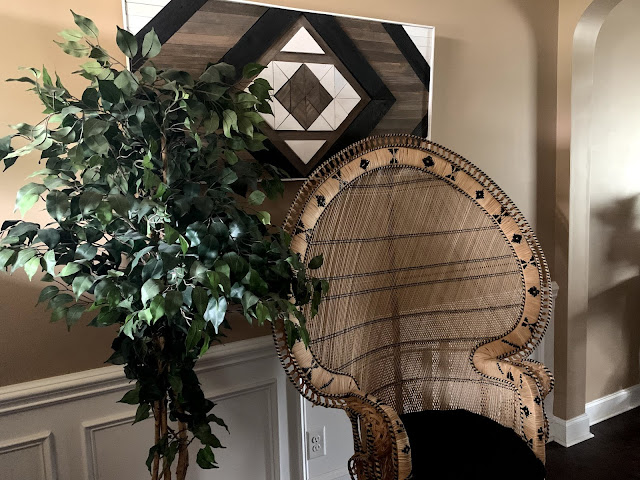
DIY Geometric Wood Wall Art
For months I have been looking around for the perfect entryway art for my house. I've had my heart set on a large geometric wood art piece, but could not find a store that one that I liked. Or if I liked it, it was too small! I wanted one around 4ft long and 2ft tall. If you want to buy one on etsy or from the store, this will typically cost you between $125 - $225. You can make it for at least half that price!
This weekend I decided I would just make it! Check out how you can make one from your house below!


This weekend I decided I would just make it! Check out how you can make one from your house below!

Materials Needed:
- 7/32" 2'x4' board
- Lattice - I used around 6' of lattice (could be more or less depending on design)
- 1x4 @ 8' or pallet wood (I used this for to add demension to my design - this is not required, but I also used a few pieces for the back of the board to add my frame).
- Scrap wood (optional)
- Wood Glue
- 1" brad nails
- Paint or stain (artist's choice)
- Heavy Duty D-Ring picture hangers
- Picture Hanging Wire
- Picture Hangers
Tools:
- Miter Saw or miter box
- Brad nail gun
Prerequisites: Think about what you want your geometric wall art to look like. I wanted the diamond look, but if you choose more of an "X" design, it may be easiest.
Step 1: Start cutting your lattice or 1"x4" to lay out your design. Use 45 degree and 90 degree angles for all your cuts. Lay them on your 7/32" 2'x4' board.
Personally, I started with 1"x4" and 45deg angle cuts with my miter saw to lay out the large black diamond. I also used the 1"x4" to cut out the triangles in the center for the diamond there. I used a 1"x6" scrap wood to make the larger white triangles in the middle.
Make sure you design and cut wood from the middle out for a centered design. There's nothing worse than having to recut a piece because it was half an inch too short!
Step 2: Paint/stain your Lattice and Wood before glue them to your board.
I like to see my design in color before I finalize my design. I knew I was going to stain a ton of the lattice and needed white and stained triangles, so I stained some out while I designed to make sure I had my favorite design.
NOTE: I did not sand any of my wood pieces before painting in this project because I was going for a rustic look.


Step 3: Secure your design to the board using Wood Glue.
Wood Glue takes some time to set. I placed scrap wood/weights on top and left for lunch while it set.
I started securing the centered diamond area to the board before I moved onto the rest of the design. I repeated steps 1 and 2 to finish my design before securing with wood glue.

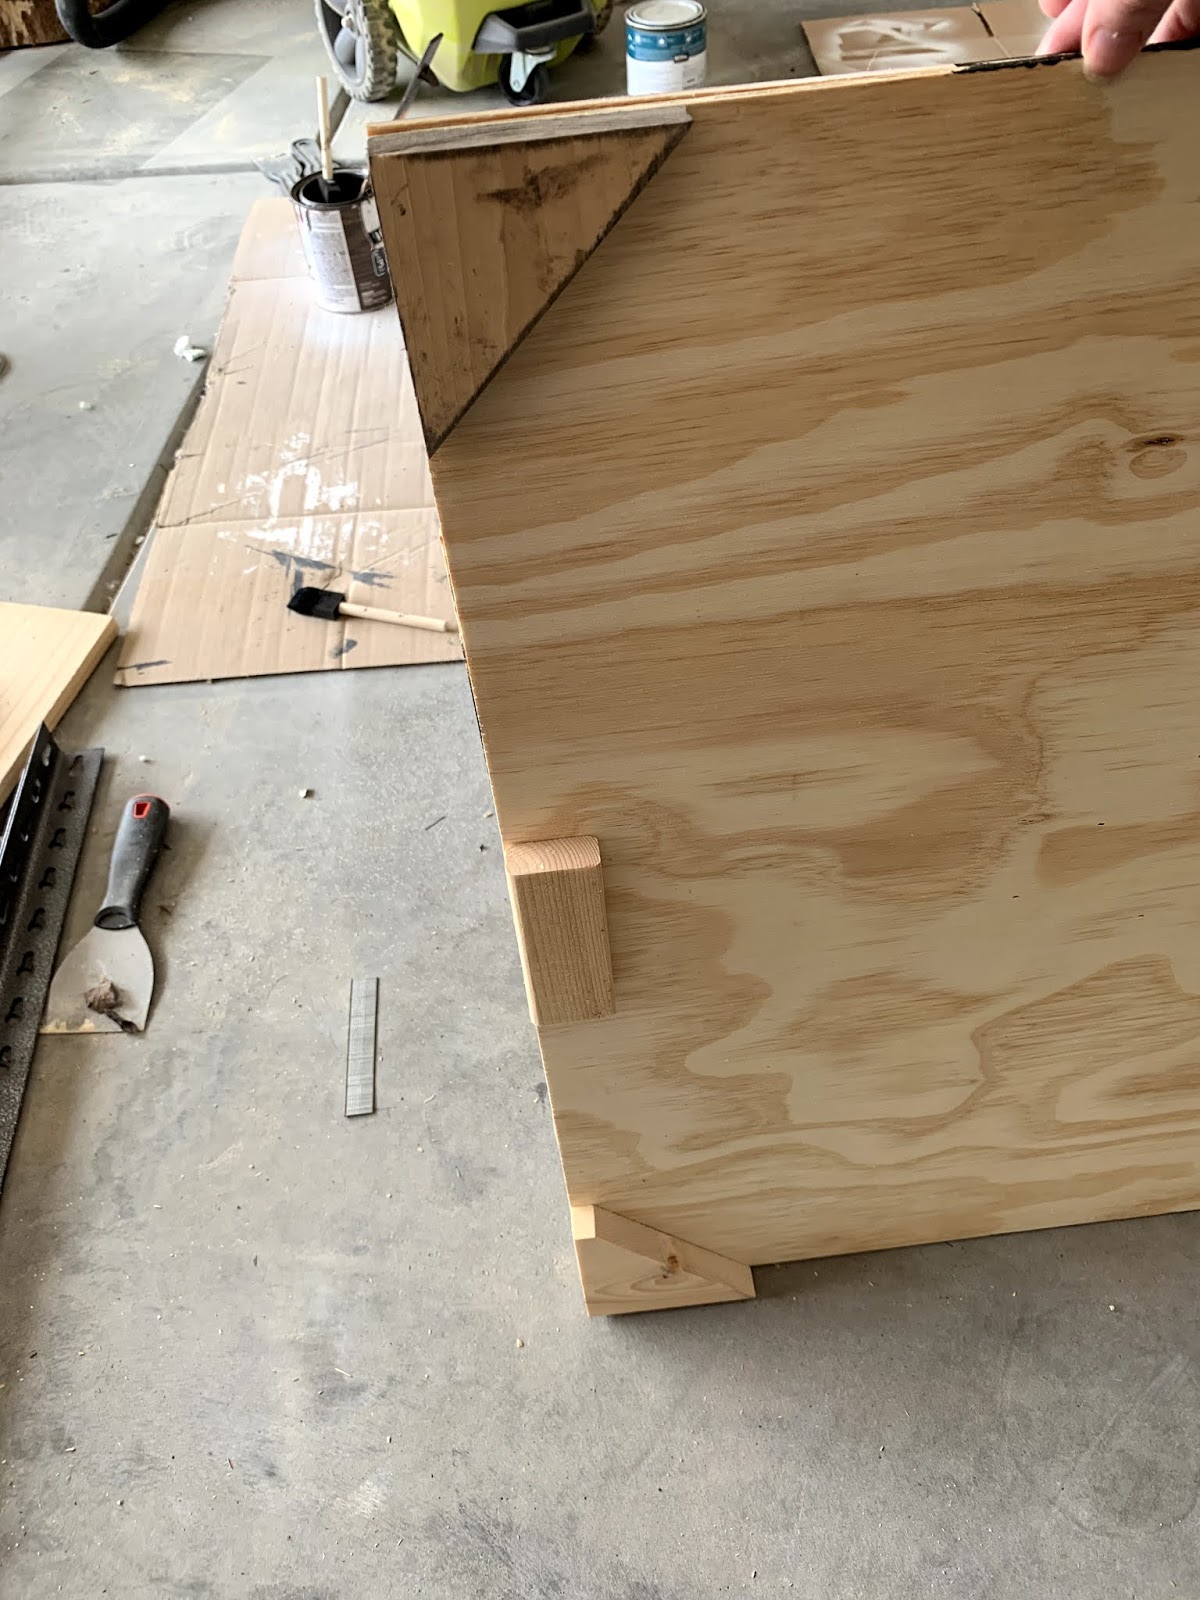
Step 4: Add your frame for a more completed look. I used painted White lattice.
Start by using glue and brad nails to attach 1x4'' traingles to the underside of your project and in the middle and corners.
We will be using 1" Brad nails to nail the frame to these pieces.
Step 5: Attach D-ring Picture hangers to the middle backing pieces and Add your wire.
Step 6: Hang your project! It's a good idea to use 2 picture hanging nails and position them widely so your picture doesn't tilt forward off the wall.

Comments
Post a Comment